
We know that at times, while installing a printer driver, you may come across the ‘Printer driver not installed, Access is deny. And if this is the situation right now, then you would be happy to know that you have the best site for guidance and solutions. This error is common, but it can be frustrating as it is an obstacle to getting work done. So in this post, you will learn how to get the issue resolve effectively. Below you will find a step-by-step guide that describes how to fix the Printer driver not installed, access is denied issue without any difficulty.
Call Customer Support: +1-888-256-6612

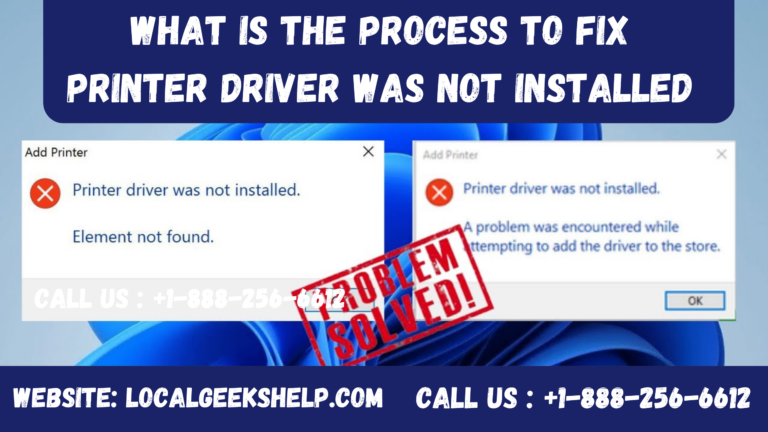
What are the causes for the “Printer driver was not install” Access is deny” error?
Well, mostly the issue is caused when you do not have complete access to all the features of a Windows computer. Now, since the error says ‘Access is denied’, this clearly states that a user has been trying to access some features that they do not have permission to access. So the solution for this issue is that you should first log in to your Windows computer using Administrator rights, and then you should try and install your printer driver again.
How can you solve the error ‘Printer driver was not install’ access is deny?’
To start with the process of solving the ‘Printer driver was not installed’ access is deny issue on your Windows PC you will first need to follow the two-step solutions given below. You will find that both solutions are clearly described, so you can easily execute them without any difficulty.
Method 1: Login as an Administrator
Now, if you have the Administrator account active on your Windows OS, then you should log in with that account itself and move to the next step. Nevertheless, if the Administrator account is deactivate, then you will need to follow the steps mentioned below to activate your Administrator account.
- You need to start by typing ‘cmd’ in the search box, and then you should right-click on the ‘Command Prompt’ option in the search results. Then choose the ‘Run as Administrator’ option.
- And now in the ‘Command Prompt’ section, you have to make sure that you are in the ‘system32’ folder or Windows, and then you need to type the command ‘net user Administrator/active: yes.’ After this, press the ‘Enter’ button.
- After that, you will need to set the password for the admin account. To do so, you would need to type ‘net user Administrator*’ in the command prompt and then press the Enter button.
- You must type your password and press the ‘Enter’ key, after which you will need to retype the same password and press ‘Enter’ again to confirm the password.
- You will now have to click on the ‘Start’ button and then also click on your computer name and select ‘Administrator’ to log in using Administrator rights.

When you have finished logging into your Windows PC with admin powers, then you should move to the next method.
Method 2 – Install the Printer Driver manually
After you have completed the above steps, you will need to install your printer driver again. And now that you have admin rights, you will also have complete rights to access all the features of your Windows PC; therefore, you will be able to install your printer driver easily.
Follow the steps mentioned carefully to start installing the printer driver on your computer:
- First of all, you must click on the ‘Start’ button and then choose the ‘Settings’ icon from the menu options.
- And now when you are on the ‘Settings’ page, you have to click on the ‘Devices’ option.
- And then right under ‘Devices,’ you will need to click on the ‘Printers and Scanners’ option.
- And in the ‘Printers and Scanners’ page, you need to click on the ‘Add a printer or scanner’ link.
- You must now wait for a while and then click on the ‘The printer that I want isn’t list’ option when you see it appearing on your screen.
- After that, in the ‘Add Printer’ window, you got to choose the ‘Add a local printer or network printer with manual settings’ option and then just click on ‘Next’.
- When you are in the ‘Use an existing port’ field, you need to click on the ‘Down’ arrow to view the list of ports available and then choose the port that you would like to install your printer on.
- Next, you will have to click on the ‘Hard disk’ option to select the printer driver files
- Furthermore, you would need to click on the ‘Browser’ option to specify the location of your printer driver.
After The Browser Option, Follow The Steps
- You should locate the folder on your PC where you have the printer driver files. And select the printer driver file, following by clicking on the ‘Option’ button.

Alternatively, you got to make sure that the driver file location is correct and then just click on OK to continue.

- You should now select your printer from the list of printers mentioned. Here in the image, ‘hp deskjet 990c’ is selected. After choosing your printer, all you have to do is click the “Next” button.


- If you would like to change the name of the printer you can if not you can just leave the default name unchanged and click on ‘next’ again.

- After that, you are suppose to wait for a while for the driver files to install on your computer.

- Now, if you would like to share your printer over the network, then you can choose the relevant option and provide the details required. Here, the ‘Do not share this printer’ option has been select as we do not want to share the printer over a network. Then, alternately, you have to click on ‘Next’ to continue.


- At last, when you see that message that your printer has been successfully add then you can either click on the ‘Print a test page’ option to check out your printer. Or you could just click on the ‘Finish’ button to complete the printer driver installation successfully.

Conclusion
That is it, you have finally been able to fix the issue ‘Printer driver not installed, Access is deny’ as well as you have the printer driver installed successfully.
Therefore, we hope that you are satisfie with this blog and you have all your printer-related queries solved. Nevertheless, in case you encounter any problem regarding the same or you need further assistance, then you can call our Geeks Tech Support Number +1-888-256-6612 or you can Live Chat with our Experts. The well-equipped technicians will assist you in no time with absolutely suitable solutions.